|
Over the past three months, I have grown incredibly as a photographer. Before the first day, I thought all you had to do was find a good subject, "feel" out the angle and light situation, and keep as still as possible in order to capture the image in its greatest detail. This course has taught me that there are simple ways around human error in photography. Shutter Speed, Aperture and ISO settings are just three elements of capturing a photo that I explored through this class, and they have helped me better capture my photos and improve the emotional impact that they retain. This is only half of what I've learned about photography; there is just as much to do when editing a photo as taking the photo. Photoshop is an application that allows users to work with multiple layers of a photo, allowing adjustments on multiple levels and creating a composite image based on those adjustments. It is a wonderful tool for any photographer who wishes to boost the impact of their work even further, as tools like the Crop Tool or the Clone Stamp Tool allow for a precise message behind a photo.
Top 2: shutter speed affecting ability to capture motion(slow/fast) Bottom 2: Photoshop allows for a broad range of creativity(Multiple Me/Touch of Color)
0 Comments
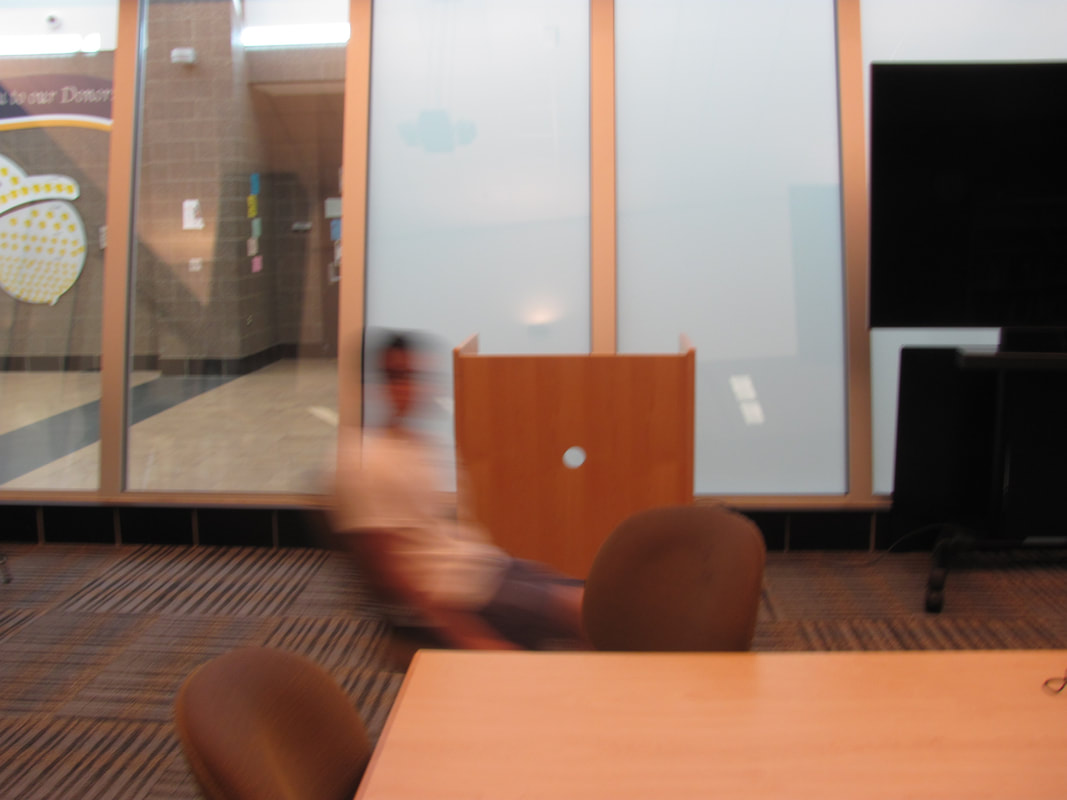
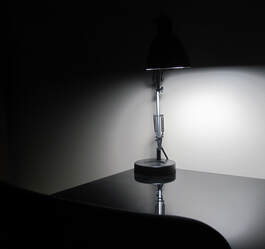
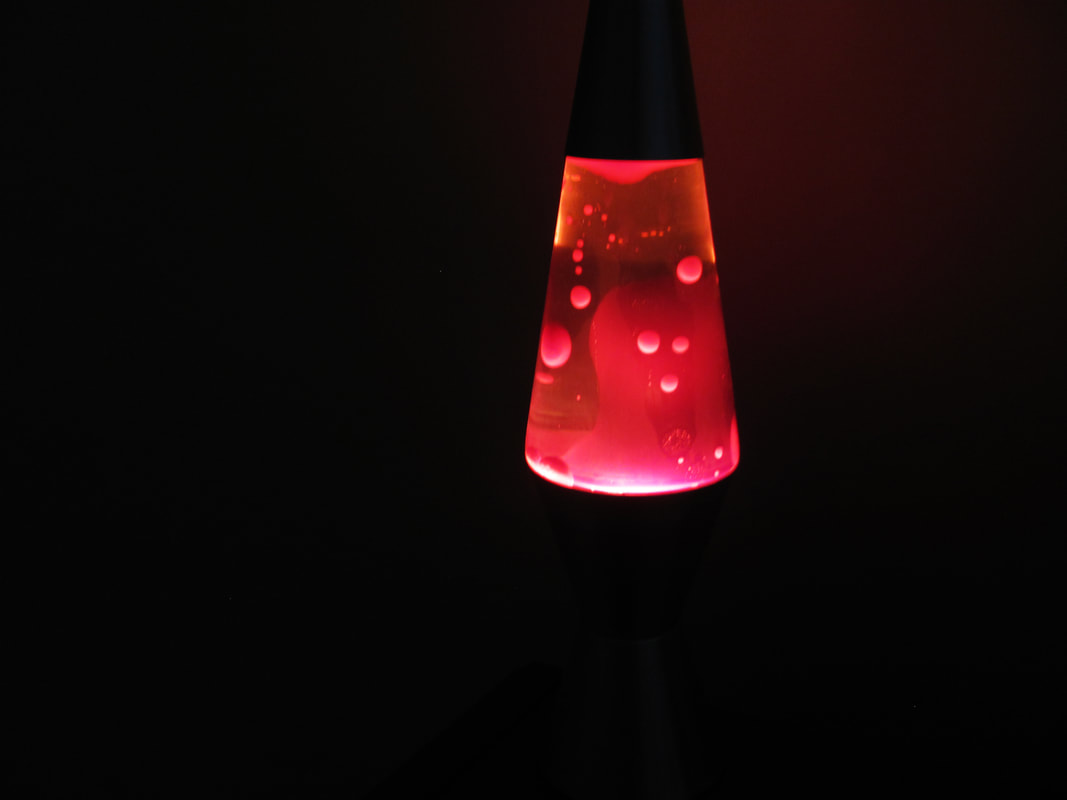
This shoot captures still life---or the life of inanimate objects. Objects captured in photos with the absence of humans or use can capture emotions different for each individual person. It was a very convenient shoot, because I was able to use objects around my room. I found getting good angles on the lava lamp especially difficult, however.
This is an edited picture taken at the auditorium entrance at Saline High School. The tornado was not originally part of the photo, but was photoshopped in to appear behind the trees in the distance. 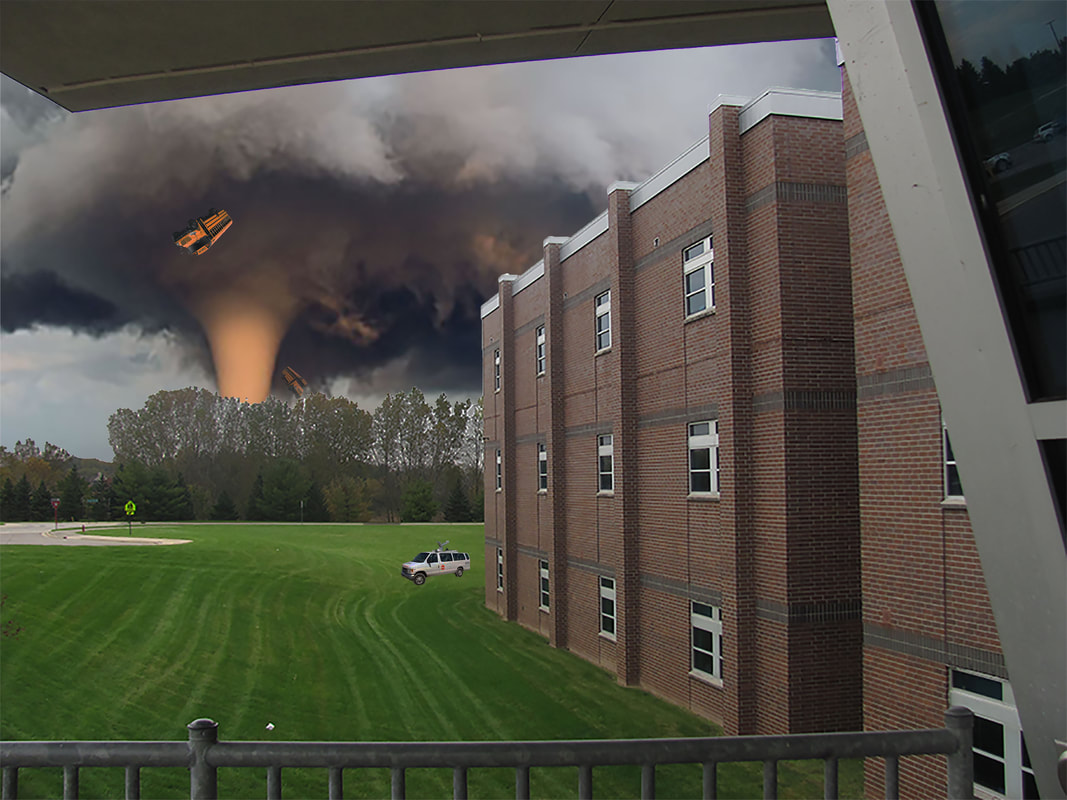 The point of this assignment was to change the context of the photo taken. Because the High School was not, in fact, experiencing a tornado at the time that this photo was taken, the context of the situation within the photo has changed. The image now relays the information that there is a tornado just to the West of the school.
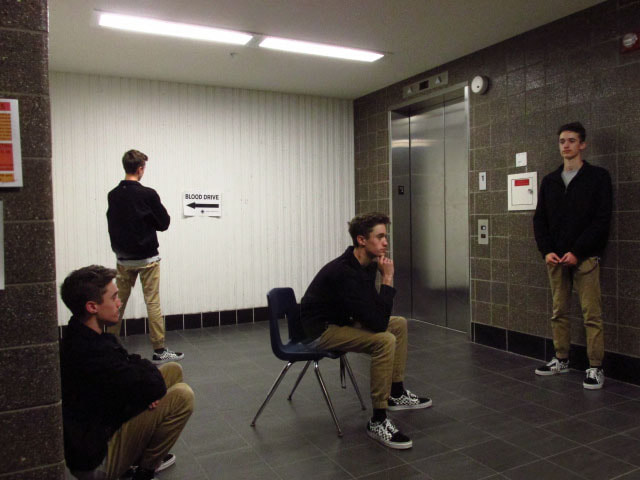
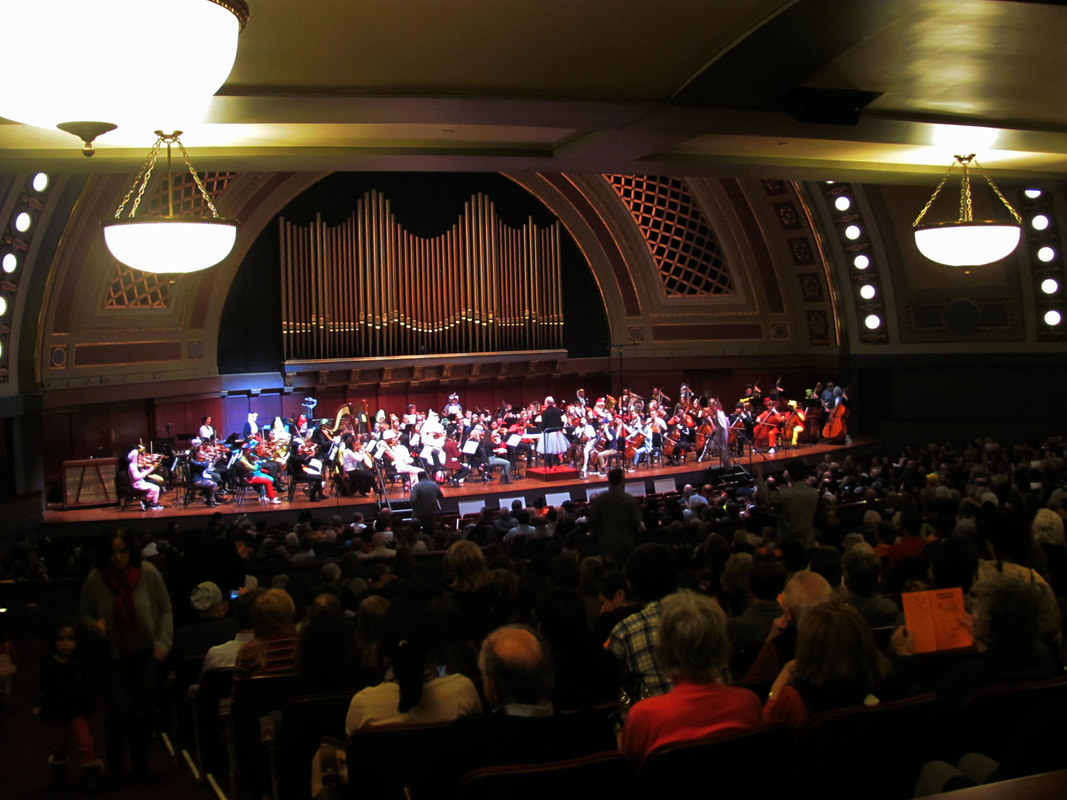
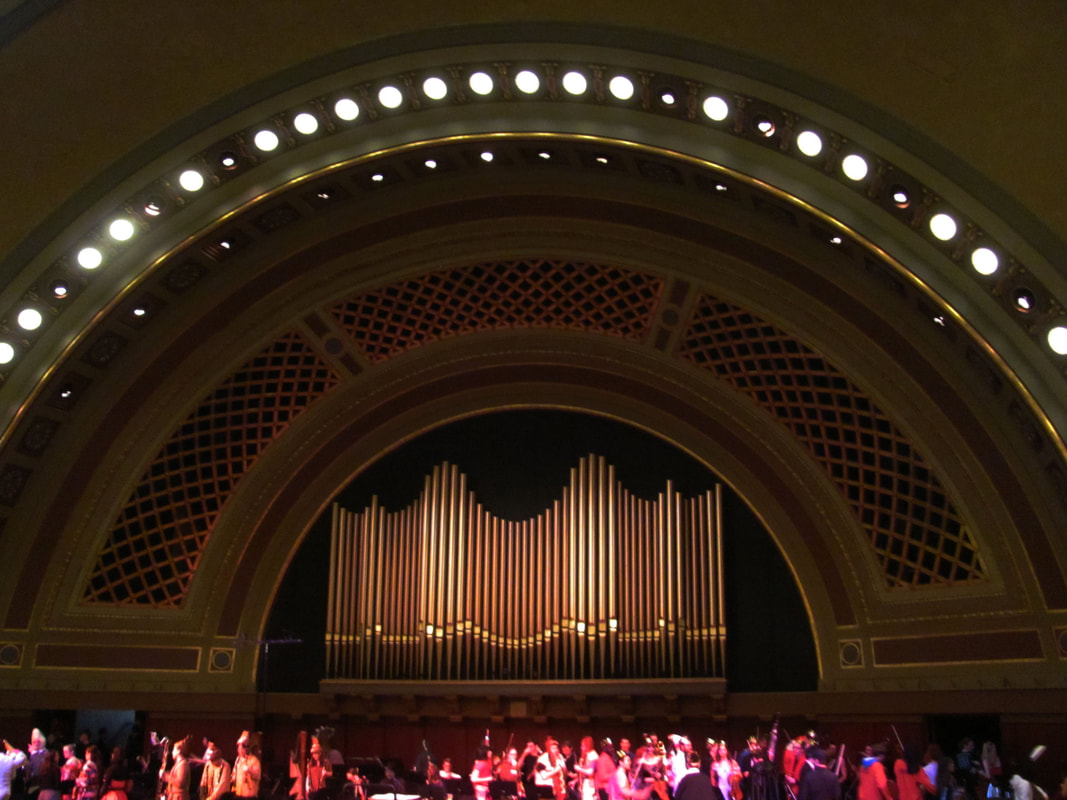
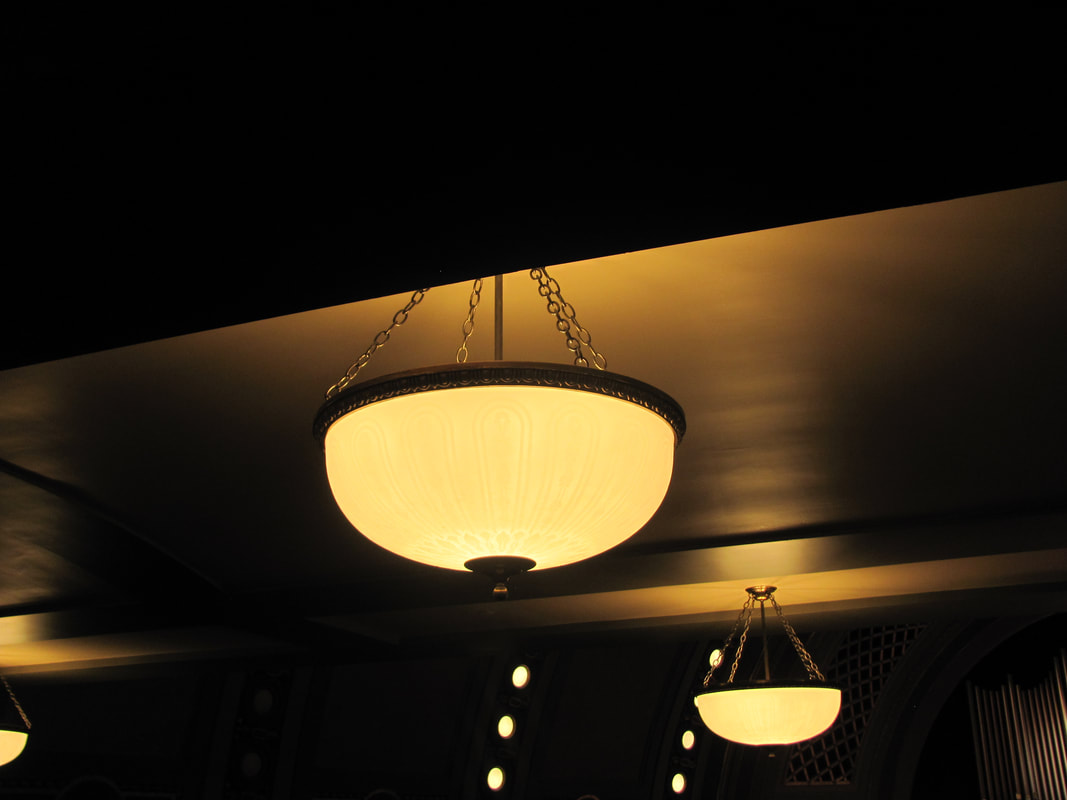
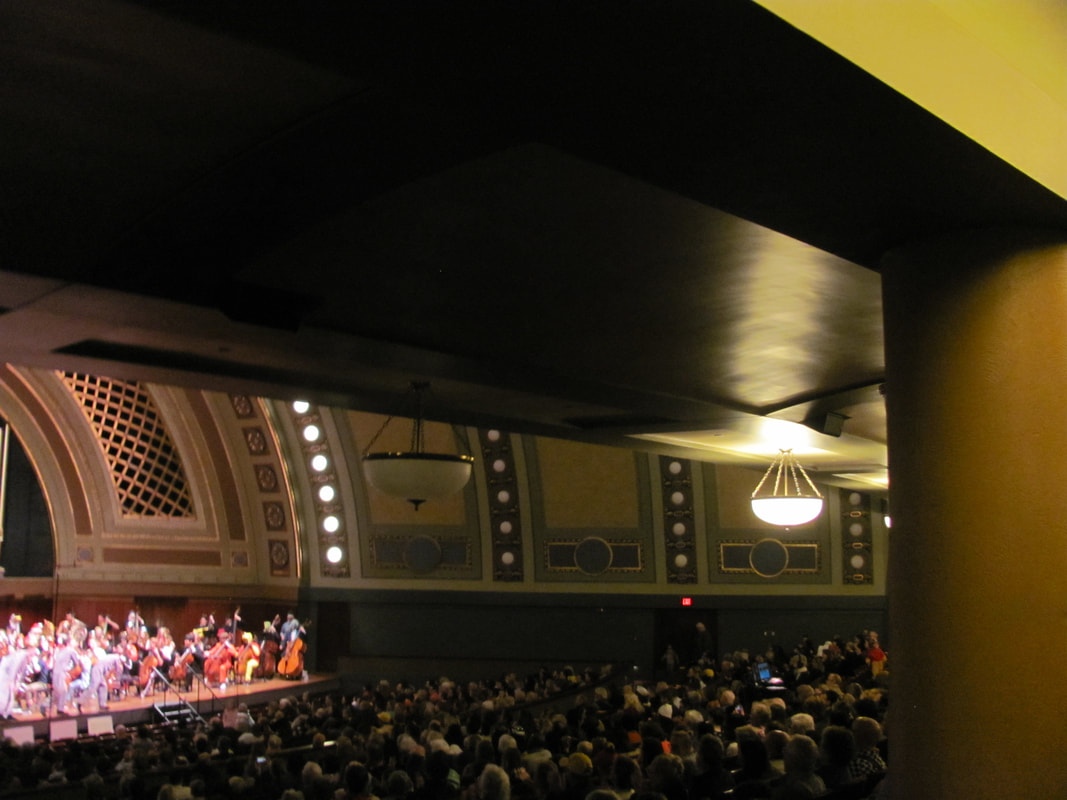
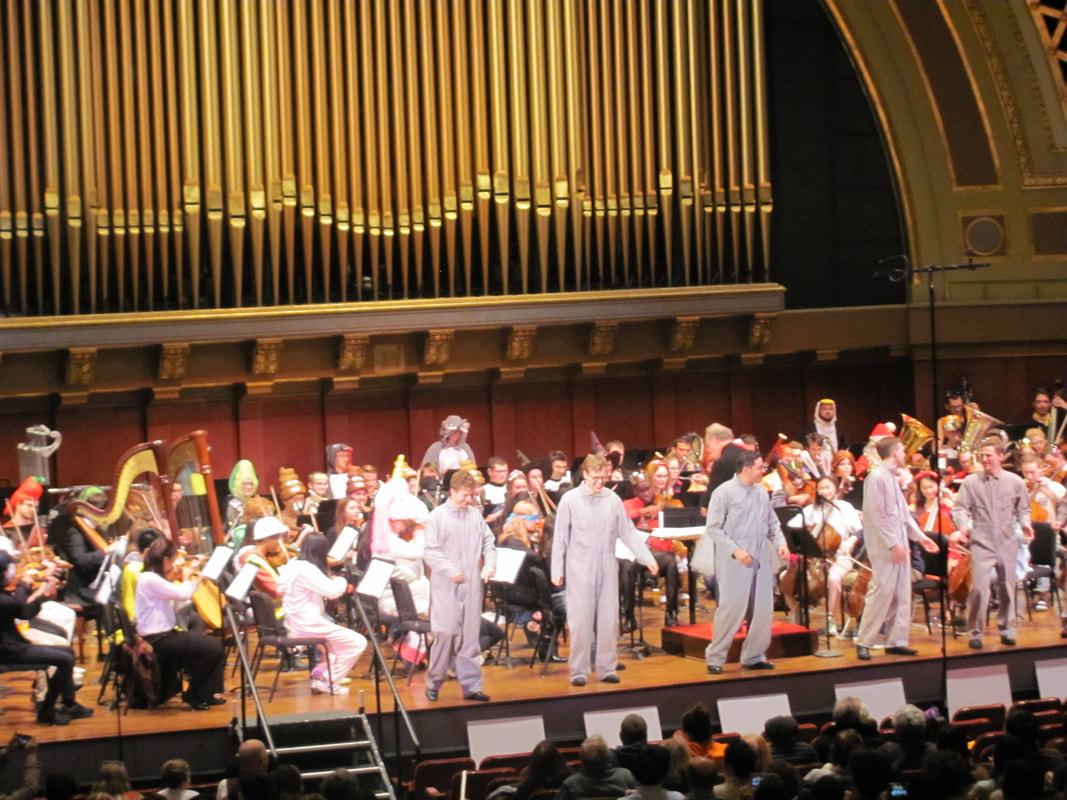
These photos were taken at the annual Halloween Concert, performed by the University of Michigan orchestra at Hill Auditorium on the Ann Arbor campus. Every year, all members of the orchestra are required to dress up in some sort of Halloween costume and attend the Auditorium on a Sunday in October. In the bottom right photo, the five people dancing onstage without instruments can be seen dressed as Ghostbusters for the classic ending with the theme from "Ghostbusters." In this photo shoot, I had a chance to explore the interaction between the exposure triangle and the zoom feature on the camera. I figured out what settings allow for clear, zoomed-in photos to be taken.
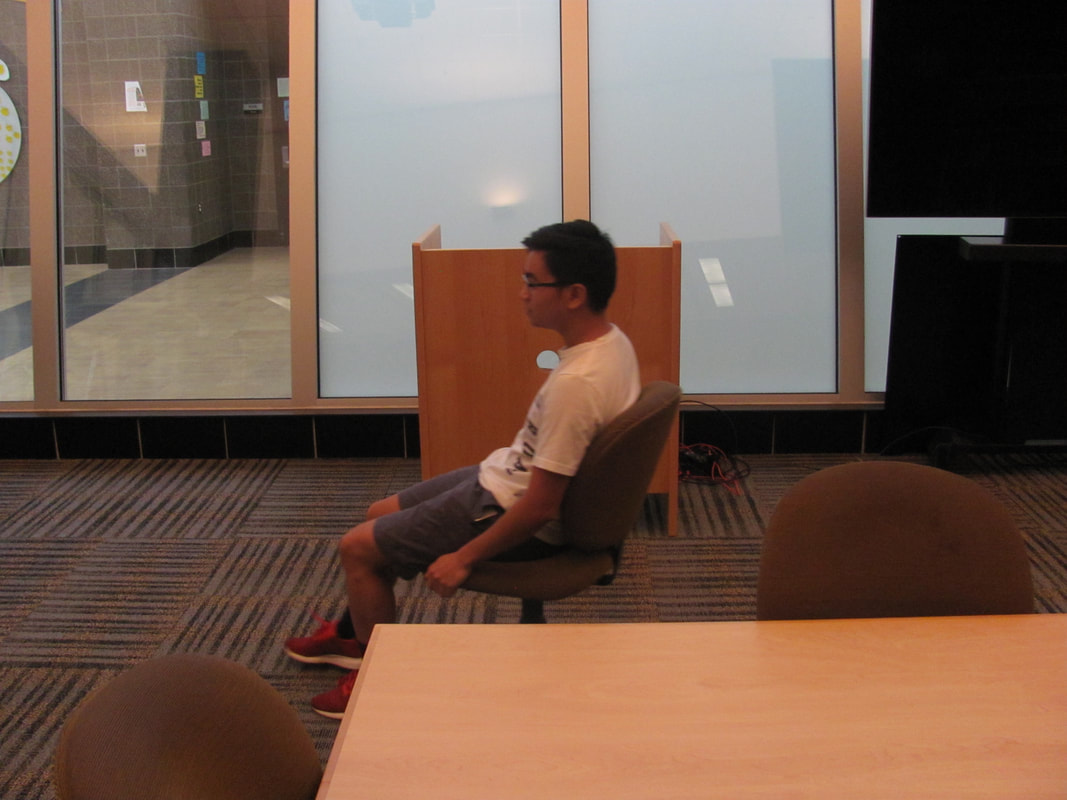
In this photoshop assignment, I cloned myself in two pictures. On the left, I am sitting on a chair and the floor at the same time. On the right, I'm having a conversation with myself, while also working on a computer about 8 feet away. I learned how to conceal and reveal sections of individual layers and align them so that photoshop reads them correctly to produce this visual.
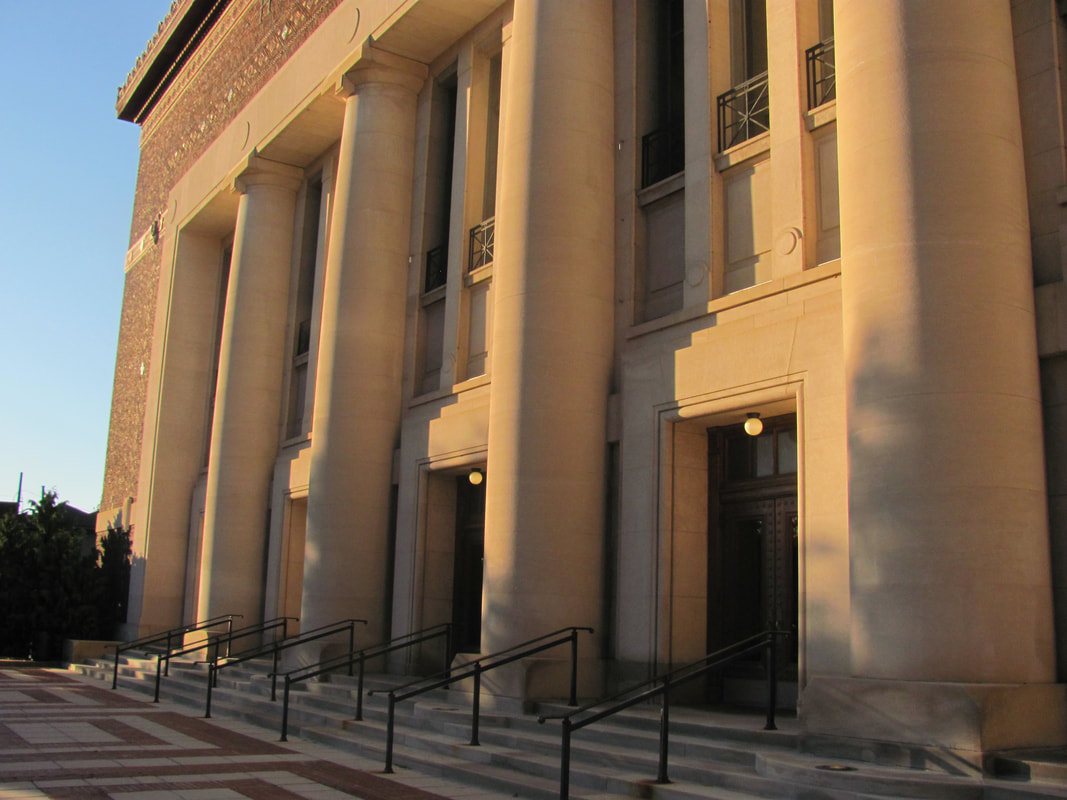
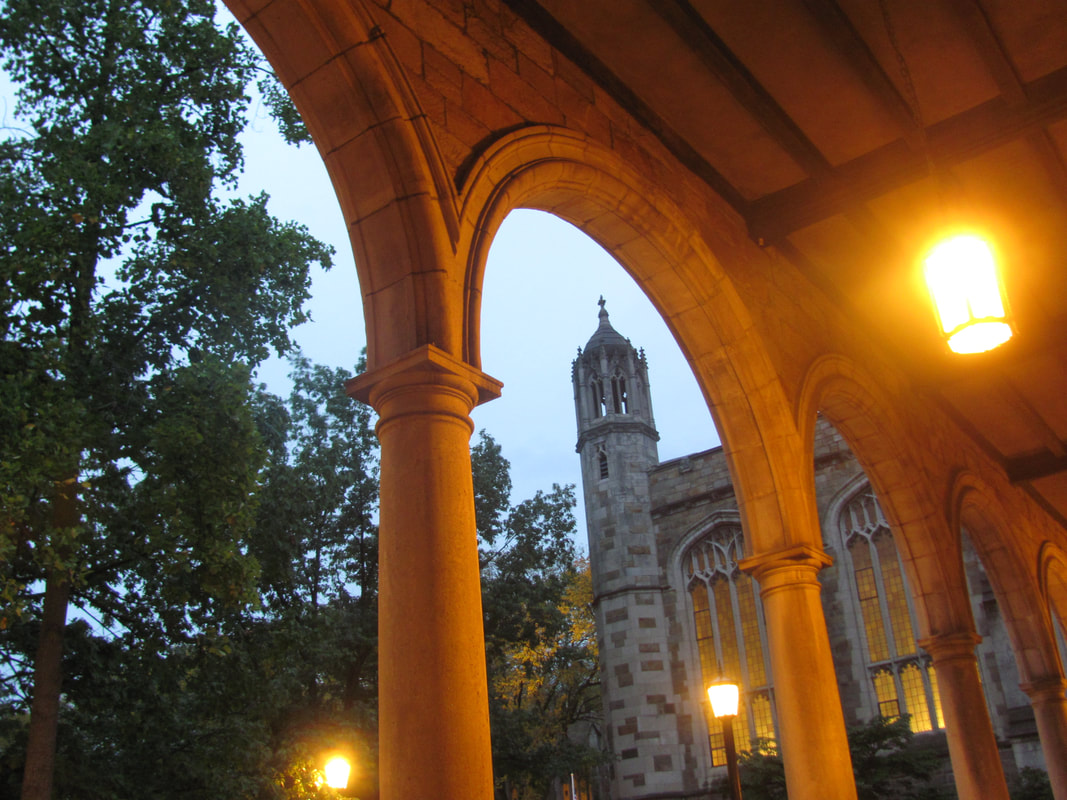
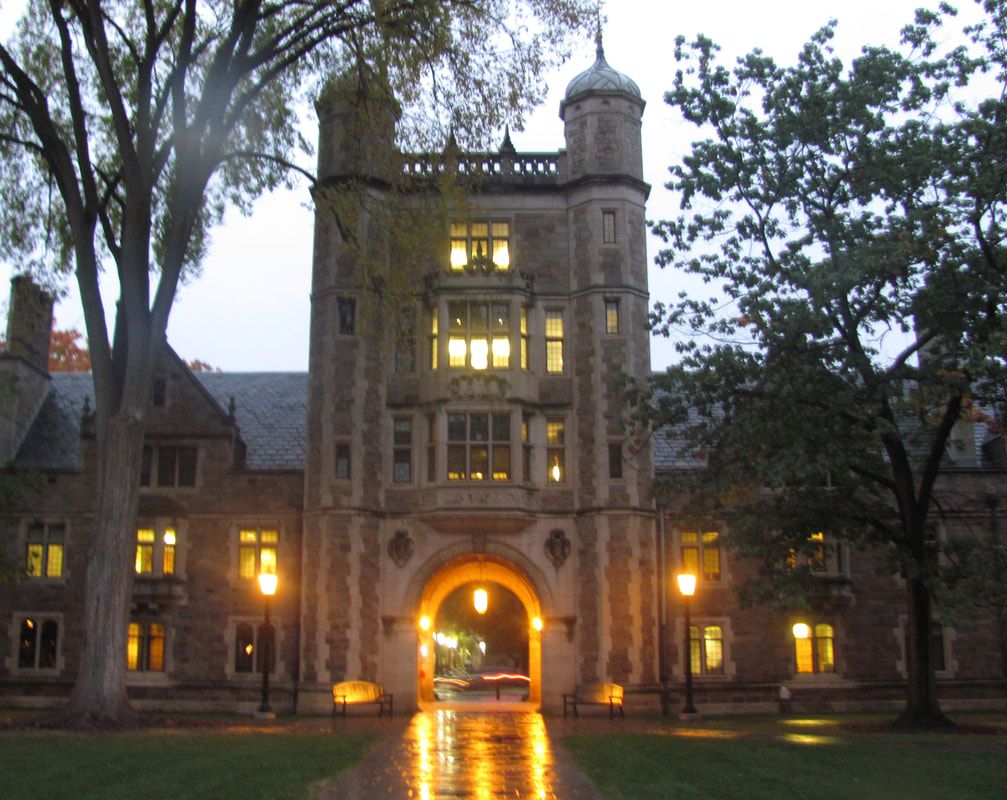
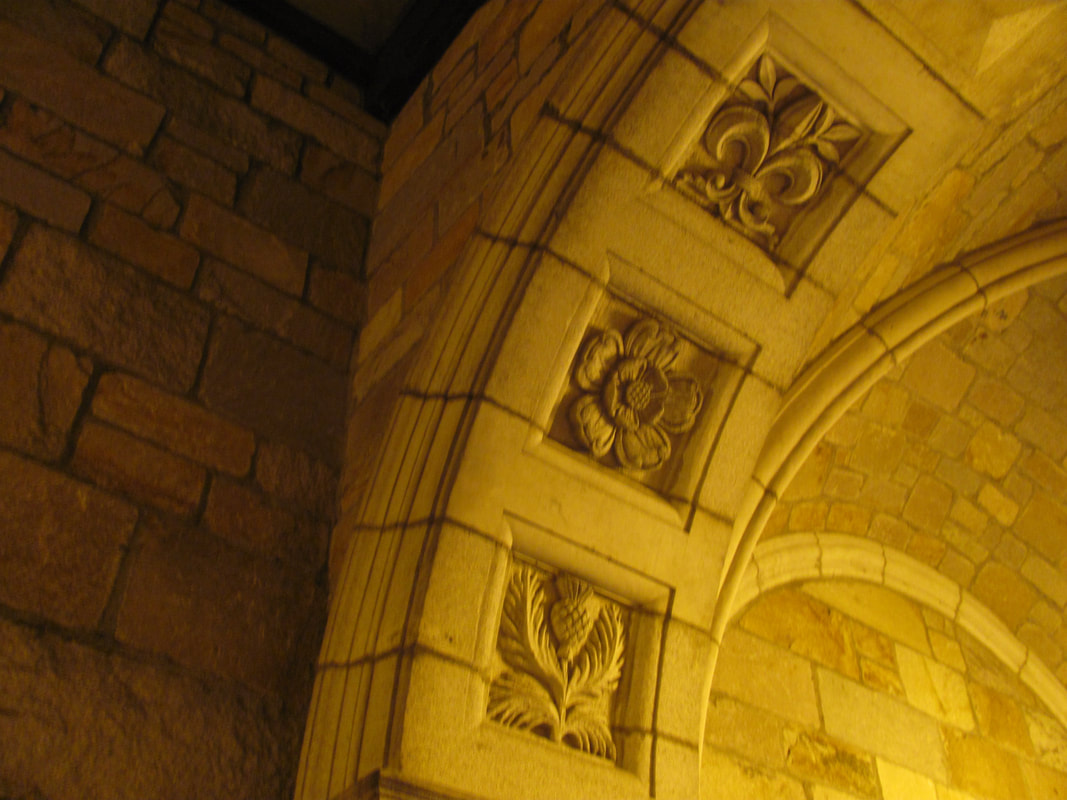
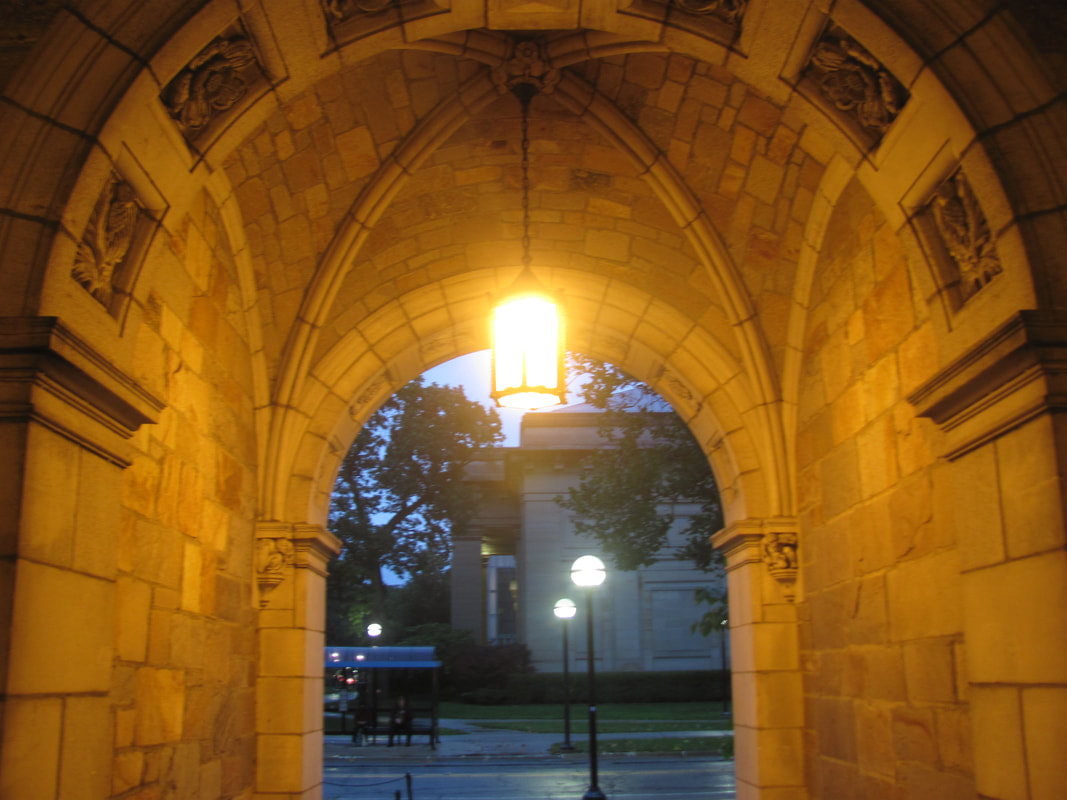
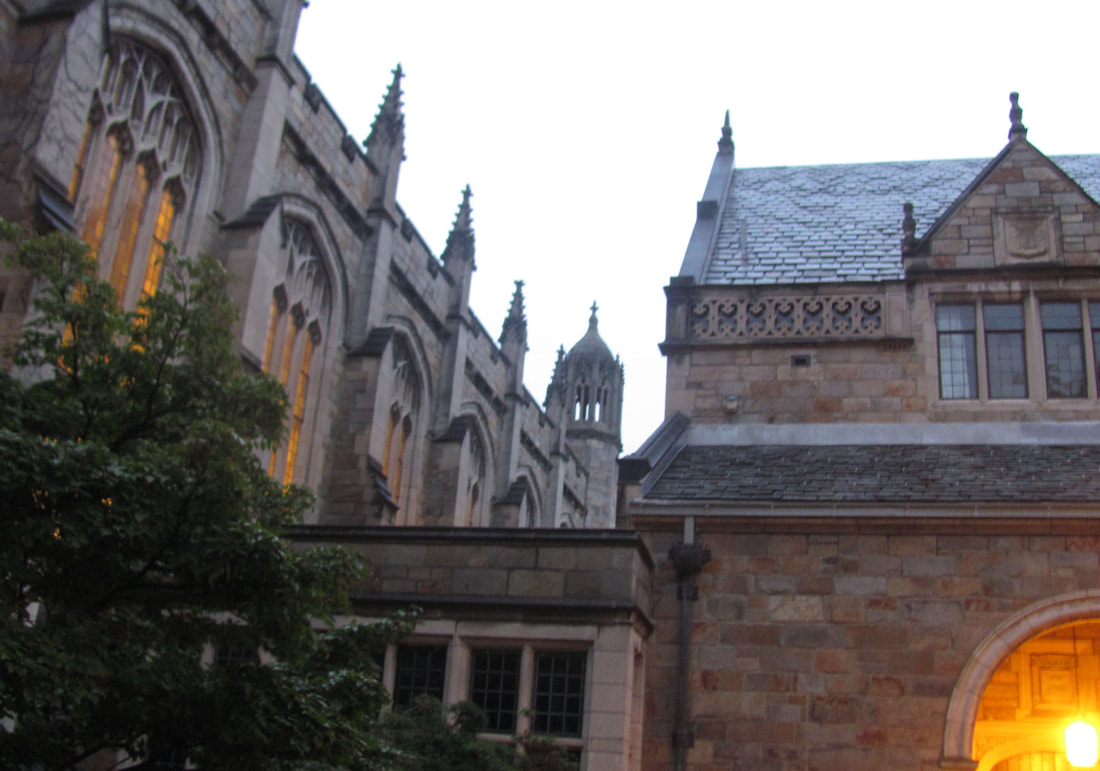
When I set out to shoot great architecture, I immediately thought of a local place that would be perfect for it. Ann Arbor's University of Michigan campus has a Law division of buildings. Within this array of structures is a courtyard. I went to the courtyard around sunset on a rather wet day and began shooting. I have further advanced my skills with Aperture and Shutter Speed settings, as I got clear images at a darker time of day as well as taking them at a speed close to snapshots.
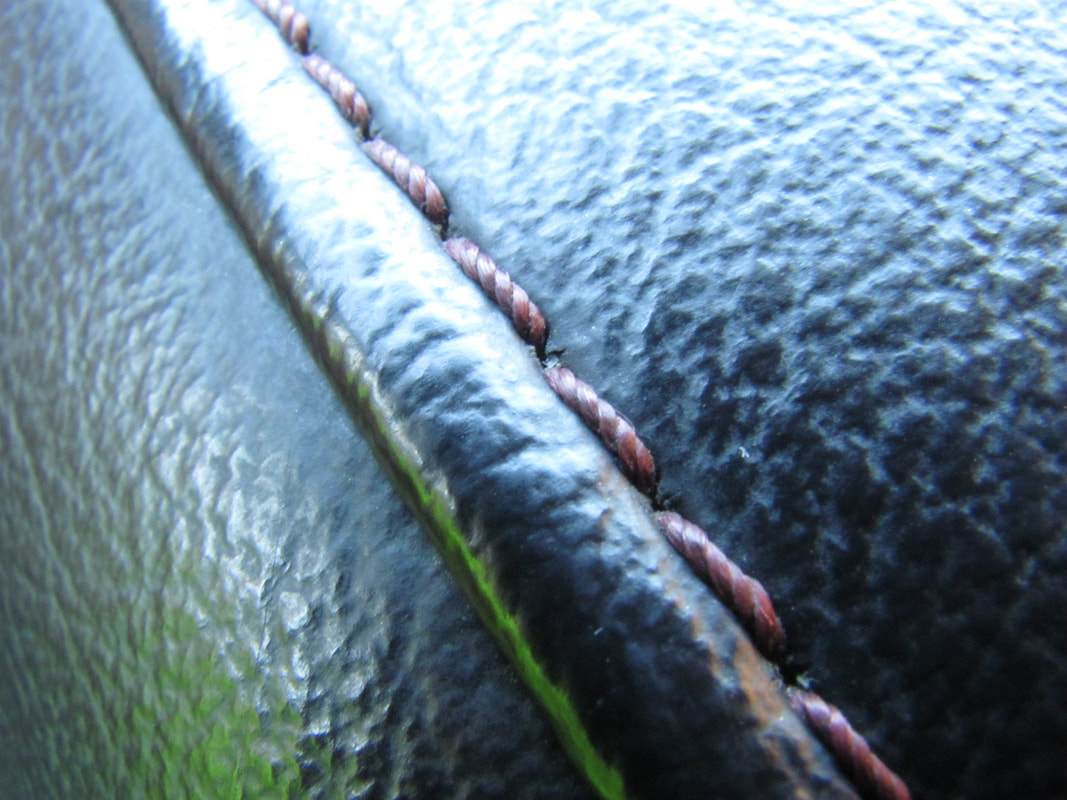
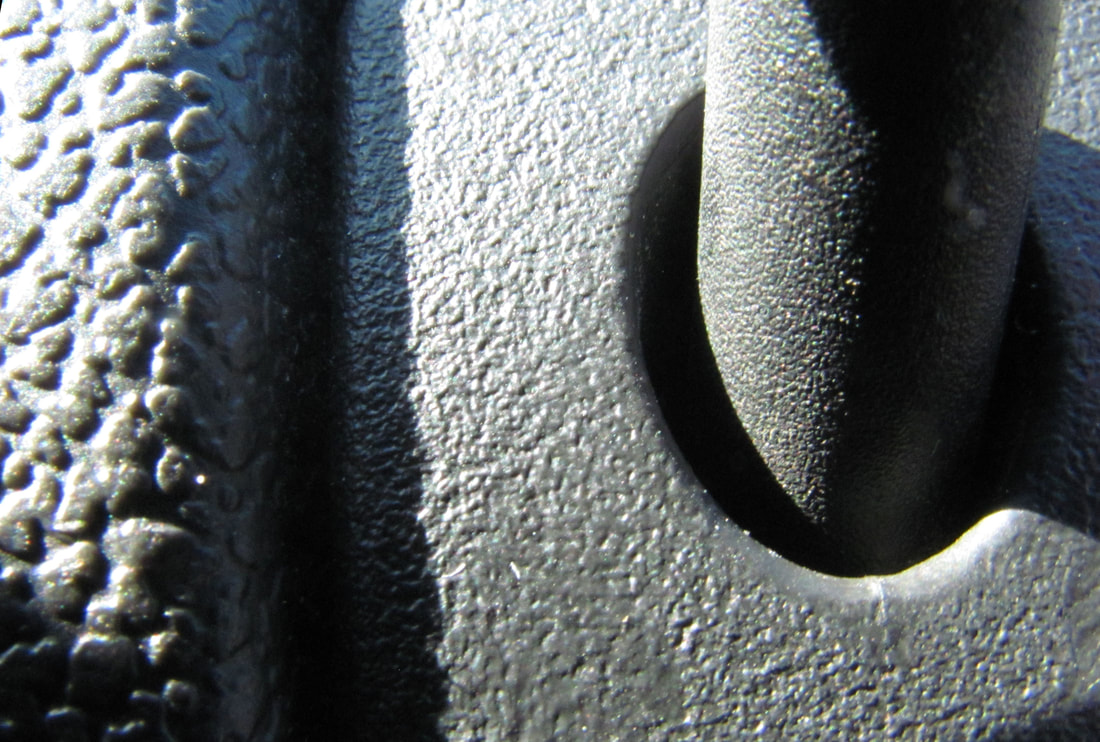
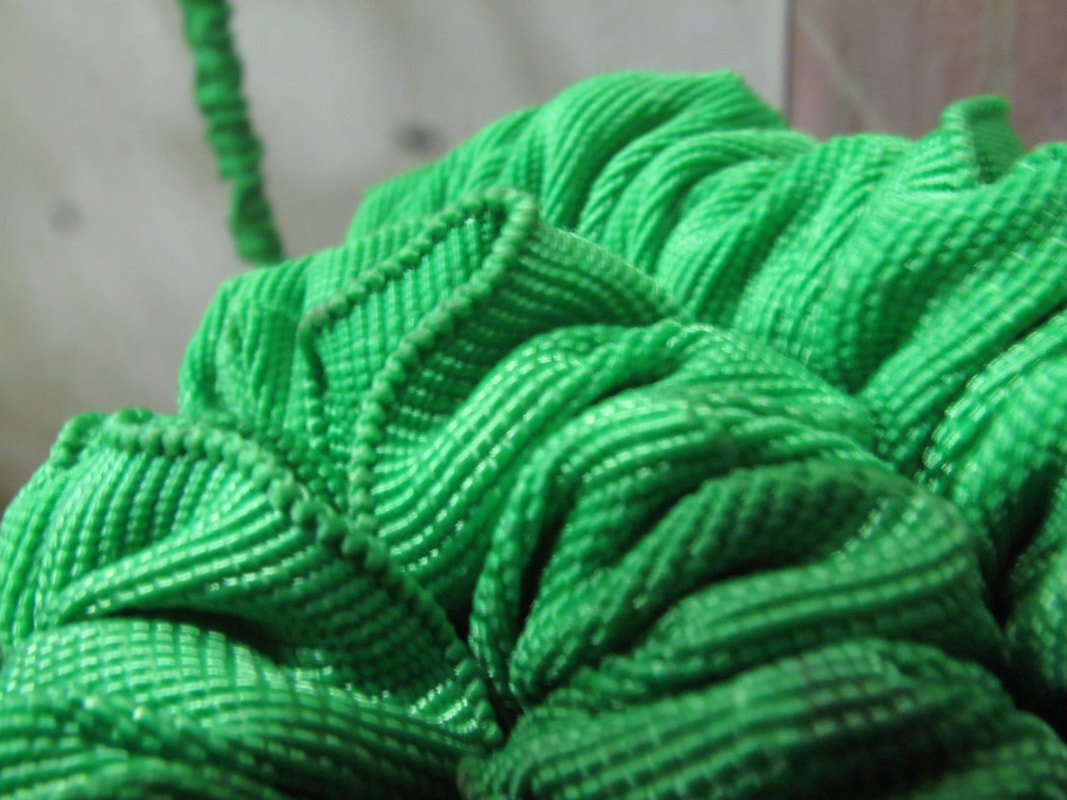
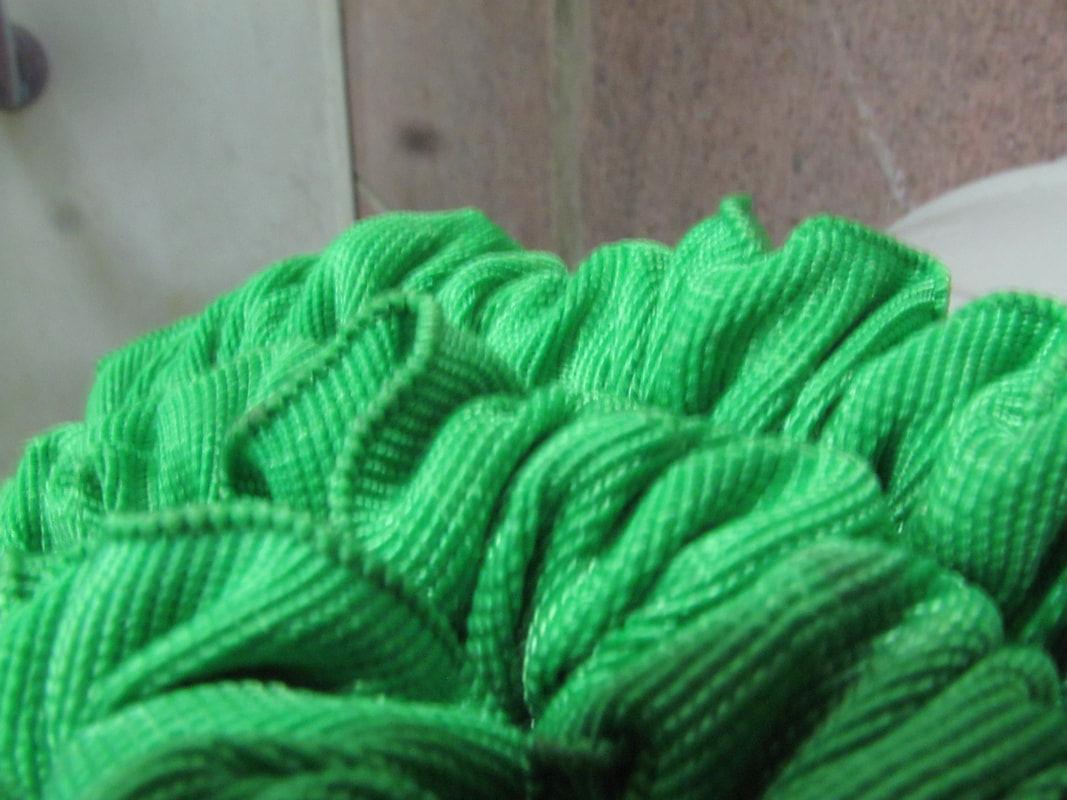
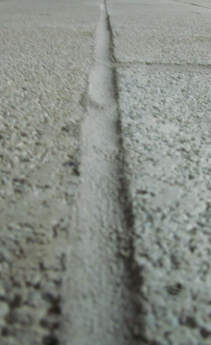
These are five different panoramic-style images from around Saline High School. The pictures feature various subjects, both indoor and outdoor settings, and of course, a wide angle for viewing. 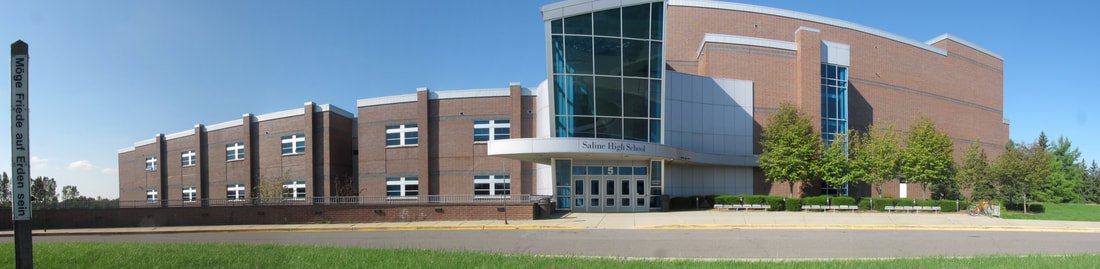 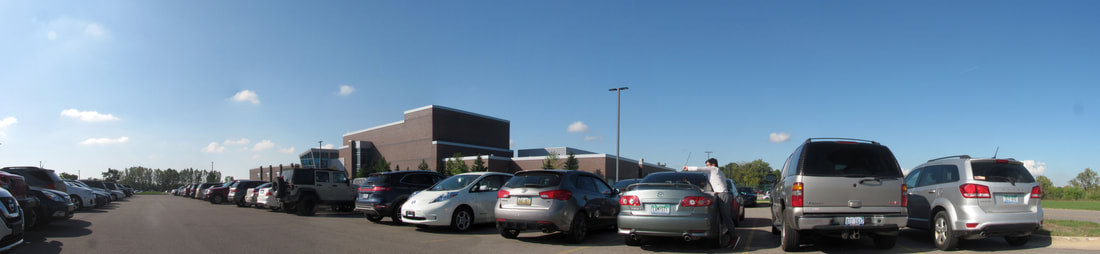  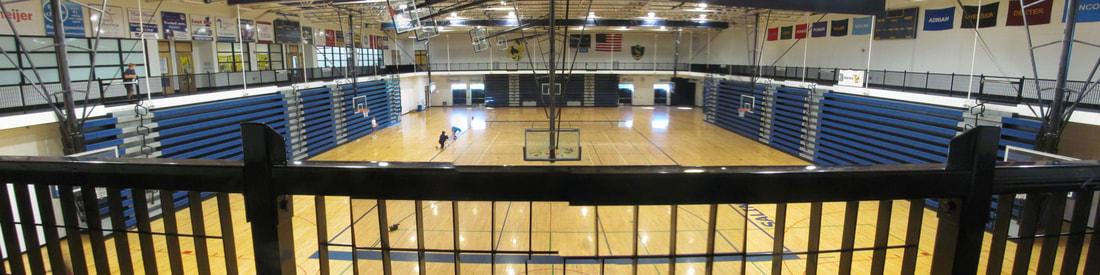 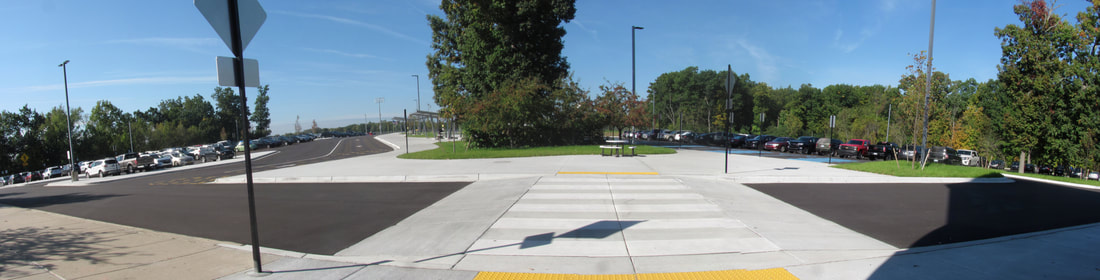 This shoot was focused on macrophotography, so I turned on "Macro" focus and began to shoot. I captured some interesting views of everyday surfaces and objects, revealing textures unseen to the human eye at a normal distance.
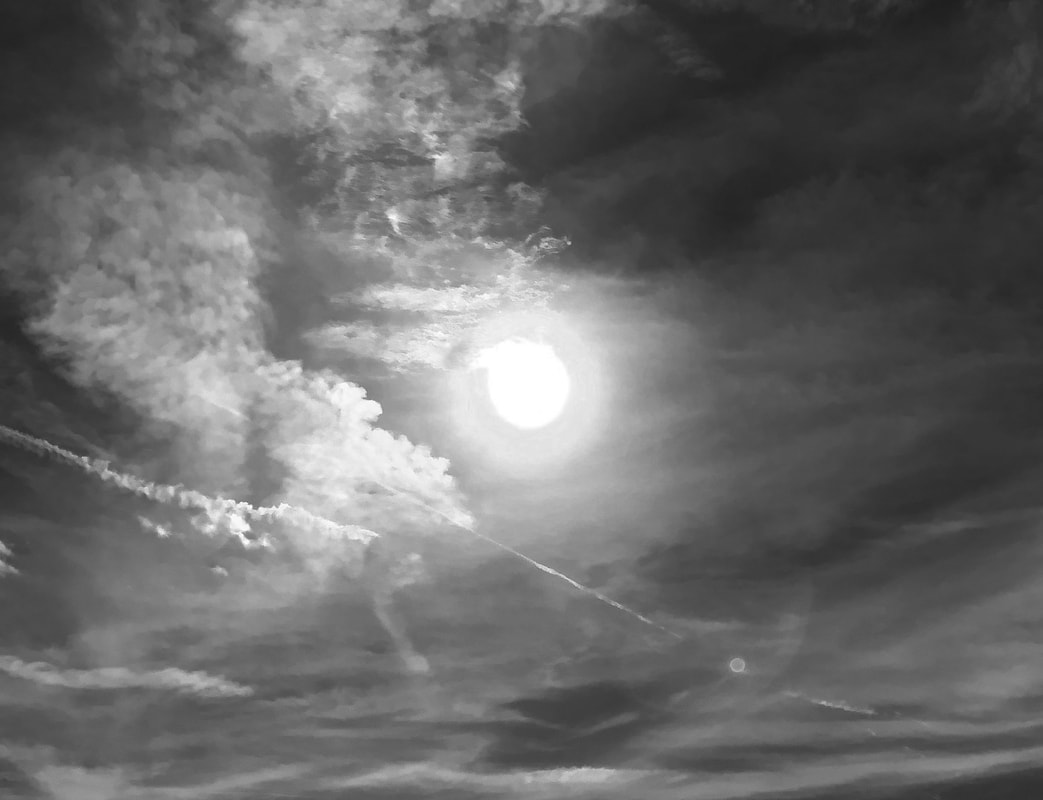
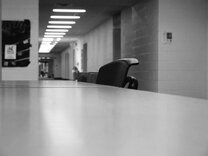
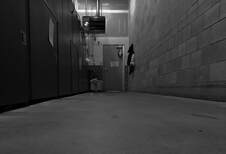
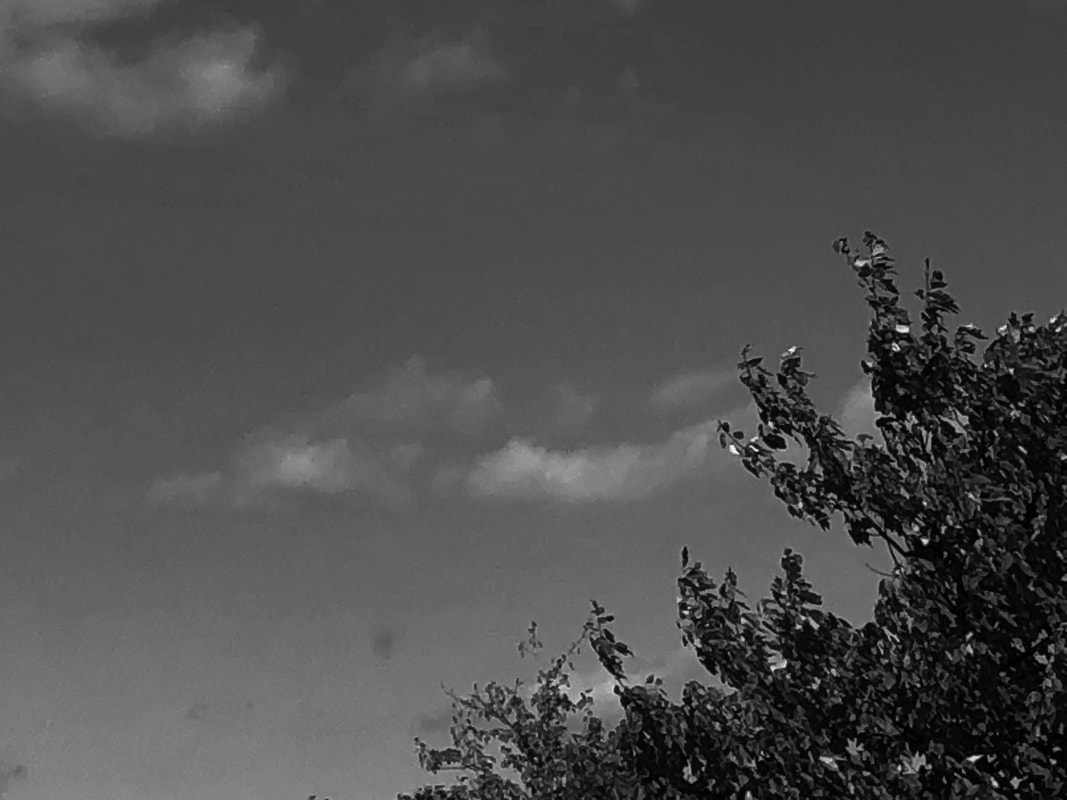
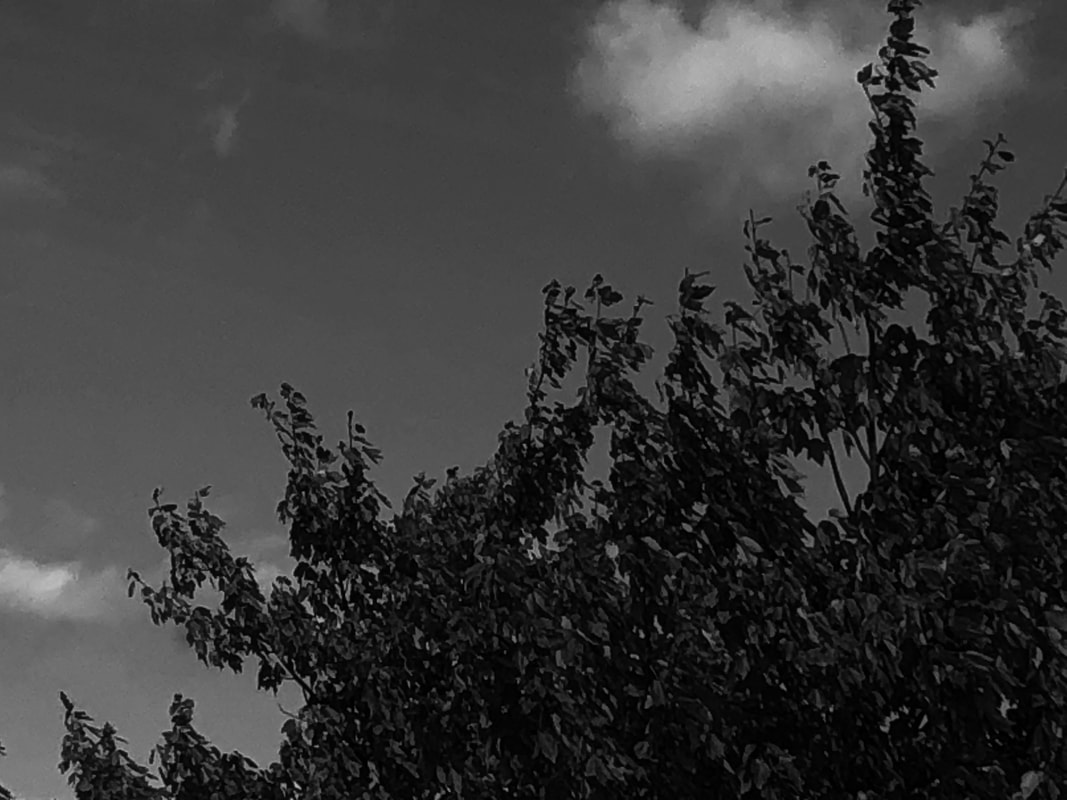
This photo shoot was all about capturing moments perfect for seeing in black and white. Taking away color brings out desolation and lack of excitement; overall a very mellow feel to the photos. I learned that only certain subjects, settings and angles work well for black and white, and there really is no method to taking a good one.
This post consists of one photo---and its touched up copy. This comparison between the "before" and "after" really demonstrates how photoshop can be used to enhance a photo. Some glare spots on the windshield and hood were removed, as well as a few on the bumper. The background was cut out and replaced with a black background, while the foreground was not adjusted. The overall brightness and contrast of the interior of the car was edited to make it appear darker, and the color on the exterior was brightened to better emphasize the outer body of the car.
|
AuthorMy name is James Callahan, and I'm a student in Mr. O'Donnell's 3rd period digital photography class here at Saline High School(Saline, MI) ArchivesCategories |


 RSS Feed
